Fixing Misalignment Problems in Core Machine Operations
Misalignment in core machine operations may seem minor at first, but it can cause bigger problems if ignored. Poor alignment wears down tooling faster, leads to inconsistent core output, and slows down production. Even small shifts disrupt casting schedules and lead to defects that hurt both product quality and efficiency.
Whether you’re working with high-output automated systems or prototype setups, keeping alignment tight plays a big role in smooth operation. Dealing with misalignment early on helps avoid unnecessary rework, cutback on waste, and keep your shop running how it should. This article gives you the steps you need to spot misalignment issues and shows how to fix them before they cost you time and money.
Common Causes of Misalignment in Core Machines
Misalignment usually comes from mechanical wear, setup problems, or even day-to-day misuse. Getting to the bottom of what causes it is key to fixing it the right way.
Here are a few common causes:
– Wear and tear. Moving parts lose accuracy over time. Slideways, bushings, clamps, and frames can loosen slightly, which throws things off.
– Improper installation. If a machine or a part wasn’t leveled or squared during setup, alignment is off from the beginning.
– Unexpected impact. Hits from tools or lift trucks can shift parts just enough to cause long-term problems.
– Inconsistent tooling changes. Skipping realignment checkpoints during tool swaps can throw things off by fractions that still matter.
– Thermal expansion. Heat buildup during repeated cycles can expand and contract parts unevenly, shifting them gradually.
These factors create issues like split-line mismatches, uneven vent paths, and off-center blow pins. In cold box core machines where precision matters most, poor alignment can creep in without showing clear signs early on.
Diagnosing Misalignment Issues
The sooner a misalignment is caught, the easier it is to fix. Even a well-made machine needs regular checks to stay dialed in. Most of the time, the first signs sneak in during production—but if you know what to look for, you can catch trouble before it ruins a batch.
Use these methods to check for misalignment:
1. Visual checks. Look for wear patterns, gaps between parts that should fit flush, or inconsistent returns during each cycle.
2. Straightedge and feeler gauges. These help verify that mating surfaces are properly aligned. No light gaps or seesaw motions allowed.
3. Dial indicators. These track movement and positioning. Any strange shifts during open/close cycles can point squarely at misalignment.
4. Core mismatch during assembly. If your cores are misaligned once assembled, your box or machine may need realignment.
5. Unusual vibration or noise. A change in machine sound often means something’s not running true anymore.
If defects start popping up for no clear reason—especially when materials haven’t changed—that’s a strong hint that alignment should be checked next. Operators should look out for subtle shifts and keep inspection tools handy. Small deviations can snowball into more leftover scrap, rework, and delays.
Routine walk-throughs and inspection checklists help avoid misalignment surprises. Making this a built-in process rather than a reaction helps keep your operation stable.
Solutions to Fix Misalignment Problems
Once you’ve confirmed that there’s a misalignment, the next move is fixing it based on the root cause. Whether it’s from wear, installation errors, or something that bumped the machine out of place, detailed steps make the correction smoother.
Step-by-step process:
1. Assess the cause. Check your notes from the inspection. If wear is the trigger, replacing key parts like bushings or support rails might be needed.
2. Realign major components. Use dial indicators and feeler gauges to square everything back up. Pay extra attention to the core box shutoff, plate fitment, and clamping paths.
3. Check reference marks. Most machines come with factory indicators so you can recalibrate back to baseline specs. Make sure new tools or parts match centerlines.
4. Lock adjustments in place. Once aligned, lock all fasteners securely. Mark these new positions for quick checks in the future.
5. Run dry cycles. Before going back into full production, cycle the machine without material to make sure everything moves as expected.
6. Record the fix. Note what was adjusted in the maintenance log. That future record can save time when similar issues pop up down the line.
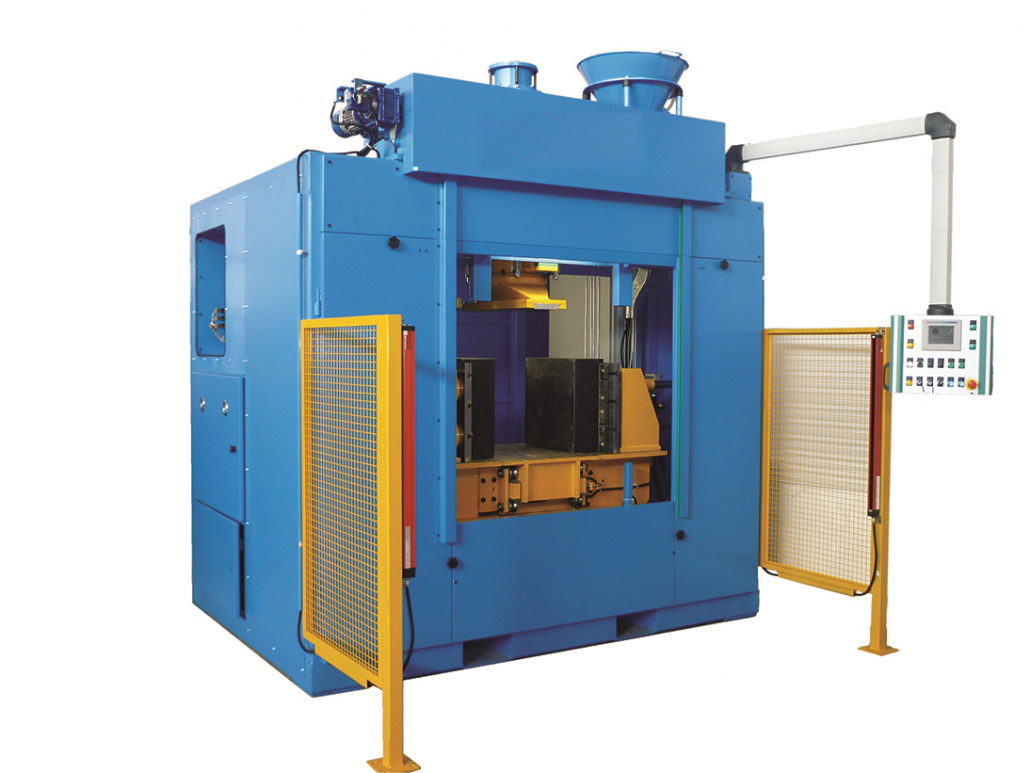
For high-output machines like dual stations or vertical-horizontal parted types, tighter tolerances mean faster issues if misalignment goes unnoticed. Machines with timed shutoffs rely on that accuracy—a few thousandths off can spoil a whole core box cycle.
If fixes keep being short-lived, deeper mechanical wear may be at play. In that case, it’s safer to have the machine fully reviewed by a technician before continuing.
Best Practices for Maintaining Alignment
Alignment doesn’t need to be a constant headache. By folding it into regular workflows, the likelihood of bigger problems drops. With the right habits, staying aligned gets easier with each shift.
Keep things running right by following these tips:
– Stick to a regular check schedule. Include alignment points in weekly maintenance walkarounds. Focus on the usual suspects like guide rails and clamps.
– Train every operator. Alignment issues often happen during rushed setups. Teach your team how alignment works and where to check before starting a run.
– Log your setups. Every time tooling is changed, note it down—tooling logs are key to spotting setup-related misalignment patterns.
– Watch for creeping wear. Small shifts happen gradually. Keep an eye on linkages, bearings, and support points before looseness turns into misalignment.
– Use proper tools for lifts and repairs. Avoid manually sliding heavy parts into place. Controlled, rated hoists reduce accidental shifts.
Automated matchplate machines and tight flask systems especially need strict alignment because everything hinges on repeatable motion. Small drift leads to height mismatches or bad vent paths—problems that are easier to stop early if you’re keeping tabs on foundational fit.
Well-aligned equipment makes production smoother and diagnosis easier. When all motion paths line up, your team isn’t stuck second-guessing the cause of a casting flaw or machine delay.
Why Alignment Pays Off Over the Long Haul
Alignment often gets ignored when things *seem* fine. But those small shifts add up, causing trouble over time. What looks like a one-off defect might be a red flag that components are no longer lining up the way they should.
Catching these early and building good alignment habits into every shift protects the full process. This means checking mounts after a tooling change, calibrating back to marks when replacing equipment, and making maintenance part of the daily rhythm—not something saved for when things go wrong.
For high-speed operations running dual station or automatic matchplate machines, a proper setup means peace of mind. It cuts back on redo work, reduces downtime, and returns consistency to every mold and core sent down the line.
Good alignment supports better results across the board. Less scrap, better cycle times, cleaner cores. A little effort now keeps quality up and breakdowns away. Keeping everything centered is one of the simplest ways to keep your operation strong.
Discover how addressing misalignment can boost the performance and reliability of your equipment. At EMI, we understand the importance of precision in foundry operations. Explore our variety of core machines to find solutions that ensure consistent quality and efficiency in your production process.


